

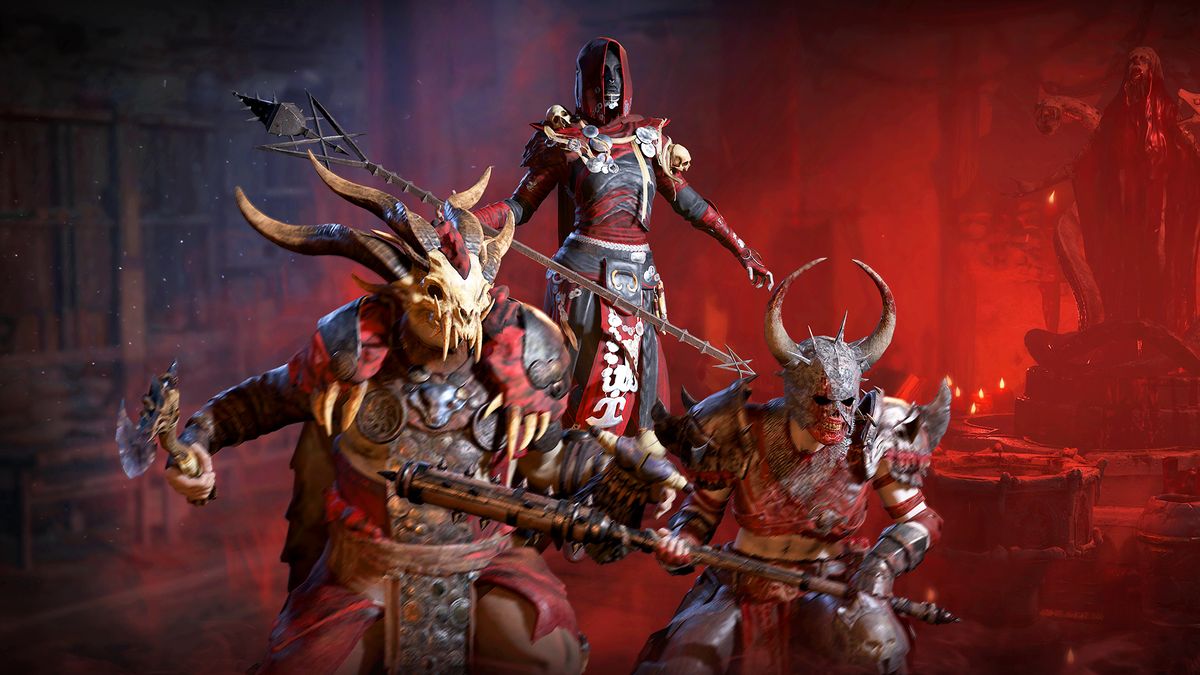
The Clash Paladin is for players who'd rather be in the crush of the fight than waiting at range for the perfect cooldown cycle. In Diablo IV Season 13, it plays like a direct melee bruiser: close the gap, break the pack, and keep enough protection up to stay there. Good gear matters a lot, so sorting your Diablo IV Items around holy damage, critical stats, barriers, and cooldowns makes the build feel far less awkward. It's not a one-button setup. You'll need to watch positioning, hold key skills when danger is coming, and learn when to push for a burst window.
Clash Strike drives the build
Clash Strike is the skill you build around. If a stat doesn't help it hit harder, hit faster, or land more often in a damage window, it's probably not a top priority. Critical Strike Chance, Critical Strike Damage, Core Skill Damage, attack speed, and holy damage are the main pieces to chase. Overpower can be worth leaning into as well, but only if your gear is already pointing that way. Don't force it on a weak setup. In real play, the rhythm is simple enough: step in, keep pressure on the right target, and avoid wasting big hits into enemies that are about to move or shield up.
Shield Rush is not just movement
A lot of players burn Shield Rush the second they see open space. That's a bad habit in harder content. Shield Rush starts fights well, but it also stops dangerous casts, gets you out of ugly ground effects, and sets up extra damage when paired with the right Legendary Aspect. In Nightmare Dungeons, Pit runs, and boss rooms, saving it for a nasty elite affix can be the difference between a clean clear and a messy death. Divine Wrath fills the gap when packs are stacked. Use it when enemies are grouped, staggered, or locked in place. Dropping it into scattered mobs usually feels poor, and it is.
Staying alive in melee range
Sacred Guard should be used before the damage lands, not after your health has already dropped. That's the mistake people make with barrier builds. They treat defence like a panic button. This build works better when you treat protection as part of the rotation. Keep the barrier rolling, refresh it before boss slams, and let Judgment Aura weaken enemies while you do your work up close. For weapons, a two-hander gives stronger burst and faster boss phases. A one-handed weapon with a shield is steadier, especially when pushing content where one mistake can delete you. Armour, Maximum Life, Barrier Generation, Cooldown Reduction, and damage reduction while fortified or protected should be high on your list.
Aspects, Paragon, and the real rotation
The best Legendary Aspects are the ones that reward what you're already doing. Aspect of Holy Collision gives Clash Strike more punch after Shield Rush. Aspect of Endless Resolve helps with barrier uptime. Reckoning Fury Aspect keeps damage moving during seasonal encounters, while Sacred Echo Aspect adds extra holy bursts against elites. On Paragon, boards such as Holy Executioner, Bulwark of Faith, Reckoning Momentum, and Wrathbearer are worth building toward early. Level glyphs like Retribution, Holy Surge, Execution, Fortified Core, and Reckoner as soon as you can. If you're still filling gear gaps or looking to buy cheap Diablo IV Items, focus on pieces that support the same loop: Judgment Aura first, Shield Rush in, Clash Strike priority targets, Divine Wrath on stacked enemies, and Sacred Guard before the hit comes.